In this article:
Sometimes, your ears may become clogged due to the excess wax that collects in your ears. It can cause a constant feeling of fullness in the ears, which can make you very uncomfortable and may cause hearing difficulty.
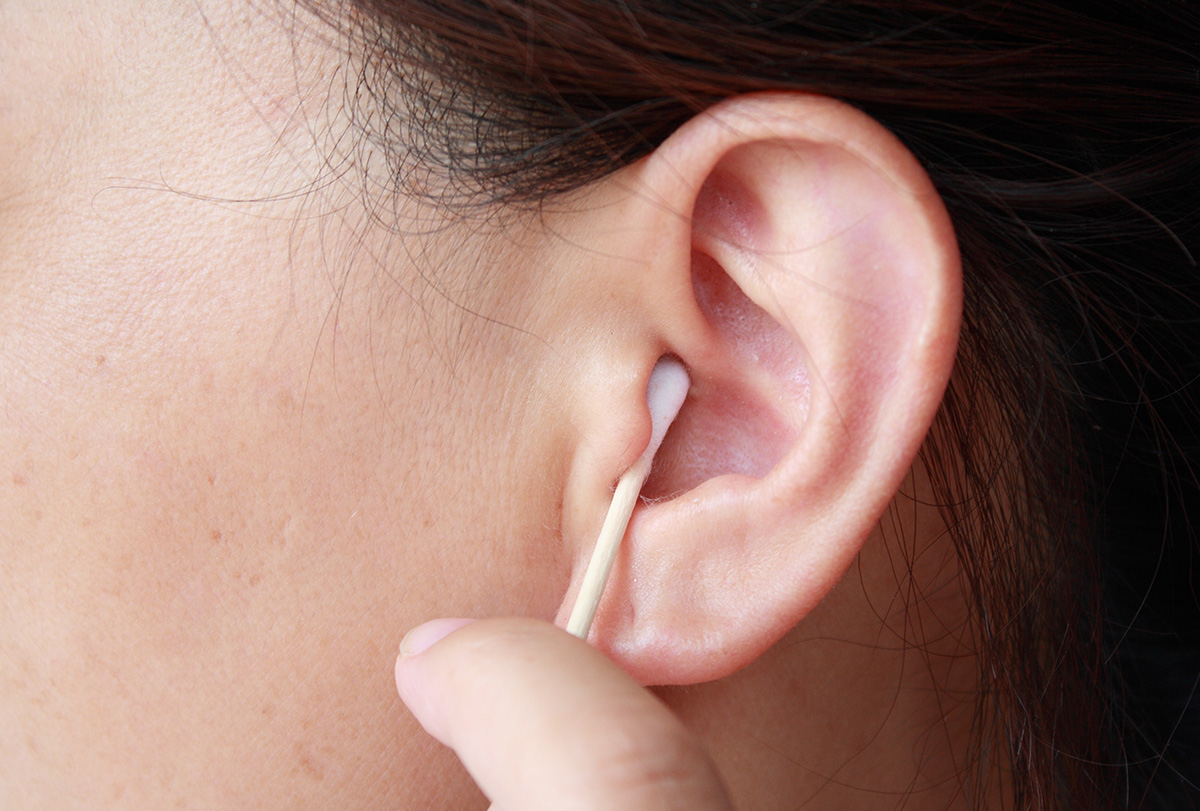
The medical term for earwax is cerumen. Cerumen may get pushed further into the ear canal and accumulate during ill-advised attempts to clean the ear canal with cotton swabs, resulting in obstruction. Thus, using cotton swabs isn’t a secure way to remove earwax.
Cleaning the ears at home by the insertion of an object into the ear is likely to compromise the ear’s natural self-cleansing mechanism and puts you at risk for possible injuries. (1)
Natural Ways to Clean the Ears
Here is how you can safely clean your ears.
1. Use baking soda in water as eardrops
According to studies, baking soda (sodium bicarbonate) is quite effective for the clearance of earwax than no treatment or placebos. In fact, adverse effects such as any kind of discomfort, irritation, or pain in the ear were not seen, and baking soda was reported to have excellent patient acceptability. (2)
How to use baking soda for cleaning the ears:
- Mix ½ teaspoon of baking soda in warm water.
- Tilt your head, and using a dropper, put about 5 drops of the solution in your ears.
- Let the solution stay in your ear for about an hour.
- Gently pull on your earlobe to open up the ear canal and allow the solution to drain out.
2. Use eardrops containing hydrogen peroxide
Cerumenolytic agents are liquid solutions that aid in thinning, softening, breaking, and dissolving the earwax. They are generally water-oil or oil-based compounds.
Water-based cerumenolytic agents, such as hydrogen peroxide and its types such as carbamide hydroxide, are the most widely employed.
About 5–10 drops can be used twice every day for 4 days to clean the ears. Hydrogen peroxide works by releasing oxygen to soften and facilitate the extrusion of earwax. (3)
How to use hydrogen peroxide for cleaning the ears:
- Bend your head sideways.
- Put 5–10 drops of hydrogen peroxide into your ear.
- Keep your head inclined for around 5 minutes.
- When hydrogen peroxide starts to bubble, remove it gently by rinsing the ear canal by squirting water using a sterile bulb syringe.
- Tilt your head to the side, facing downward to allow the water to drain out.
- Do this twice a day for up to 4 days.
3. Use glycerin

In one study, a cerumen removal product with glycerin was useful and safe for solving blockage in patients with impacted cerumen. Patient happiness with the product was high, and a majority of people demonstrated improvement after the single application itself.
In the study, complete dissolution of earwax was seen in 80% of the volunteers. Those who had cerumen blockage symptoms shared substantial improvement with the use. Feelings of fullness and decreased hearing disappeared with reduced ear itching, water trapping, or cracking.
All of the volunteers who finished the application satisfaction assessment were satisfied with the application. (4)
How to use glycerin for cleaning the ears:
- Apply a few drops of glycerin to the affected ear canal using a dropper.
- When the wax is softened after around a day, use a rubber-bulb syringe to gently spray warm water into your ear.
- Lean your head sideways and pull your outer ear up for the water to go in easily.
- Once you’re done irrigating, tilt your head sideways to allow the water to drain out.
- Dry your ear with a towel.
Note: You can use cerumen solvents such as hydrogen peroxide, carbamide peroxide, glycerin, or triethanolamine, but do not overdo it because these solutions can irritate the skin in your ear canal if used for too long. In some cases, they can even cause fegic reactions. So, use them as directed and don’t go overboard.
4. Apply oils
Wax is part of the ear’s self-cleaning mechanism and is usually expelled from the ear canal naturally without causing trouble. When this mechanism falls flat, wax is contained in the canal and may become impacted.
Liquids are then used to extract and soften wax of various kinds, one of them being mineral oil, which is easily available at pharmacies. (5)(6)
How to use oils for cleaning the ears:
- Lie down on your side with the impacted ear facing upward.
- Apply a few drops of oil to the affected ear canal using a dropper. Pull the outer part of the ear to open the ear canal.
- Wipe any extra oil.
- When the wax is softened in the morning, use a rubber-bulb syringe to gently squirt water into your ear. (6)
- Once you’re done irrigating, tilt your head sideways to allow the water to drain out.
- Dry your ear with a clean cloth.
Use Cotton and Saline/Water to Clean the Ear Instead of Cotton Swabs
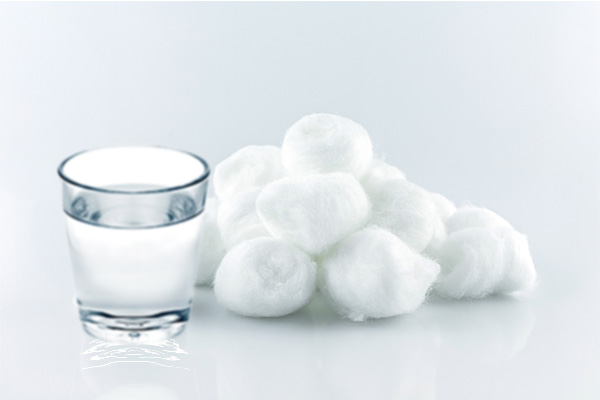
Many people are guilty of improperly cleaning their ears by using cotton swabs. However, this seemingly harmless method often pushes the dreaded wax further into the ear canal.
Note: Interestingly, earwax accumulates in the outer part of the ear canal and not near the eardrum. When there’s a buildup of earwax right up against the eardrum, it’s often a result of unsuccessful attempts at removing the earwax, which is why it’s best to not use cotton swabs. (6)
A better way to get the wax out is to gently soak a cotton ball in plain water, a saline solution, or hydrogen peroxide and to carefully place a few drops of the water or solution into the ear.
Tilt your head so that the opening of the ear faces upward. Hold this position for about a minute. Tilt your head the opposite way, and let the fluid and wax drain out. (6)
What Is Ear Irrigation?
Ear irrigation is a way to clean out earwax buildup by flushing liquid into the ear. It is performed by professionals only, and it’s important to make sure the eardrum is okay and there are no abnormalities first.
There are some things that make irrigation not safe, such as if the person can’t sit upright or has a tube in their ear, a foreign object in the ear, a hole in the eardrum, or a swimmer’s ear. Moreover, if the person has a history of ear problems, surgery, vertigo, or radiation, another method might be better. (7)
Note: Rather than using ear irrigation to remove earwax, there are other methods that are faster, tidier, safer, and more comfortable for the patient. These methods include rolling the earwax out of the ear canal using a blunt curette or loop or removing it with a suction tip, such as the Baron, size 7 French.
Why Do I Feel the Urge to Clean My Ears?

Many people have an excessive amount of cerumen (earwax) in their ears that accumulates over time and can even become impacted, thereby hindering the flow of sound to the eardrum. This can result in various symptoms that cause an urge to clean the ears.
These symptoms include: (1)
- Itchiness
- Pain
- Irritation
- Hearing difficulty
Why Is Self-Cleaning the Ear With the Insertion of Objects Not Recommended?
Cleaning the ear at home by inserting objects into the ear canal should be avoided as it is a risk factor for ear-related symptoms and injuries that include: (1)
- Pain
- Earache
- Bleeding
- Tympanic membrane perforations
- Weakening the local defense against bacterial and fungal infections
Why Is Earwax Stuck in My Ear?
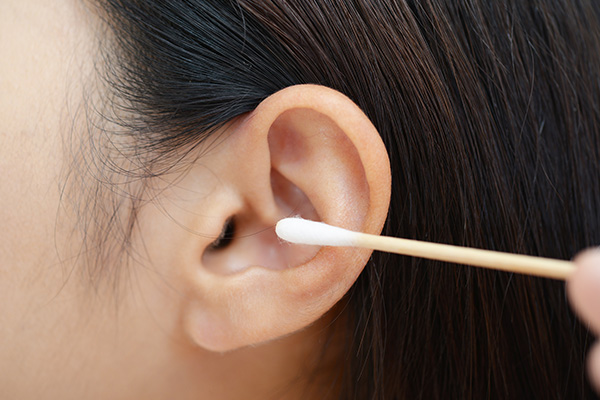
Earwax or cerumen is created by the cells lining the ear canal and functions to safeguard the ear canal by keeping it clean and healthy. Wax is usually self-clearing, but if there is any disturbance to the normal movement of wax, it can accumulate in the ear canal.
Final Word
Self-cleaning the ear can disrupt the integrity of the ear if not done properly. The habit of putting things in the ear, even earbuds, thus needs to be discouraged as it can cause various risks. This implies the need to educate the public about proper and safe ear cleaning practices.
Fortunately, there are a few safe ways to remove earwax at home, such as the ones mentioned above, and if they don’t seem to work, professional help should be sought.
- Was this article helpful?
- YES, THANKS!NOT REALLY


