In this article:
Cleansing, moisturizing, and toning are three essential steps of skin care, but scrubbing is that extra step that can greatly enhance the effectiveness of a beauty regimen.
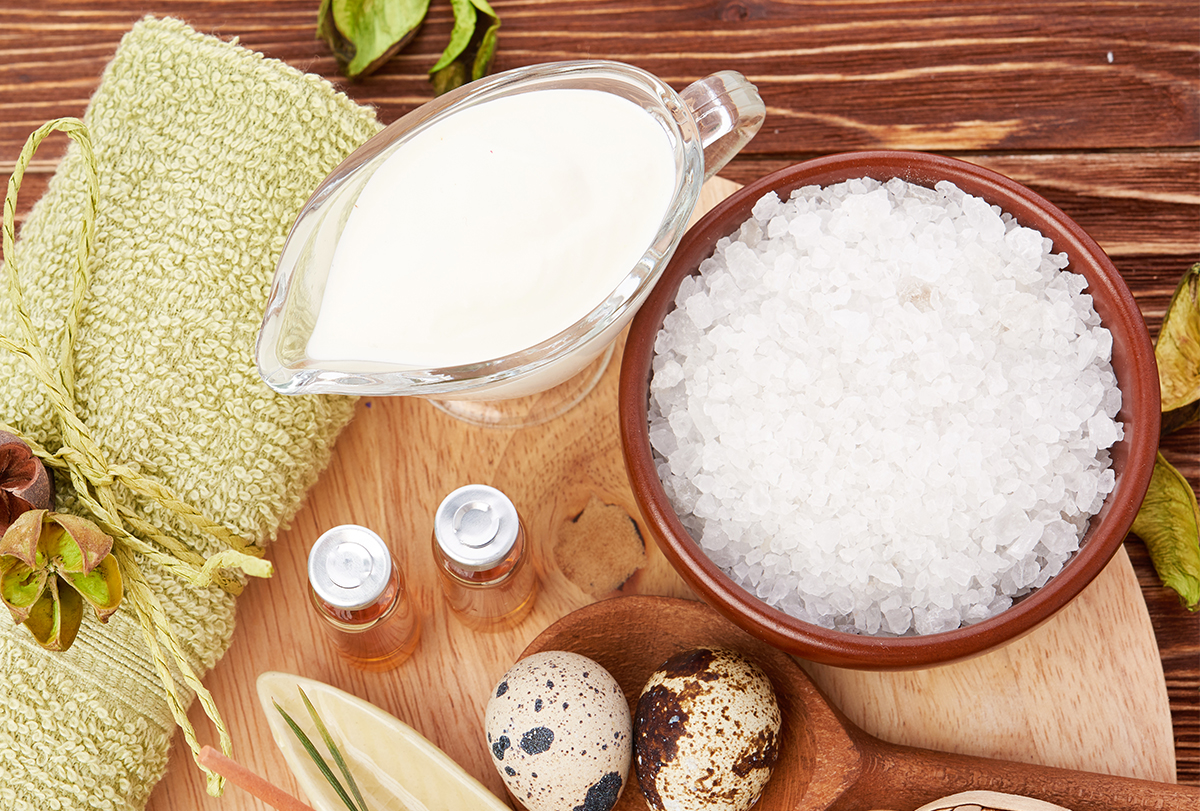
The skin accumulates a lot of dirt, germs, pollutants, dead skin cells, and sebum on its surface, which may settle deep into the pores. Clogged pores make it difficult for the skin to breathe and invite bacterial growth that leads to skin infections such as acne. Regular cleansers fail to remove the impurities settled deep in the pores. This is why you need scrubs.
But finding the right exfoliant can be tricky, especially if you have problematic skin. Most commercial scrubs contain harsh chemicals that may provide deep cleansing but strip away skin moisture in the process. Their granules may also be too abrasive for already irritated skin.
Sea salt is one safe and effective exfoliating agent that works for most people. This article will show how you can make your own sea salt scrub at home.
Know Your Ingredients
You need the following ingredients to prepare a sea salt scrub, each of which improves the skin in different ways:
1. Sea salt
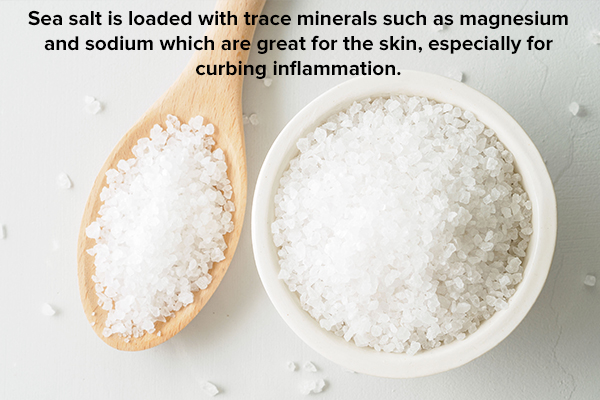
Sea salt is produced by simply evaporating seawater with minimal processing. It is considered purer and healthier than regular salt because it contains no preservatives and has a higher nutritional value.
Sea salt is loaded with trace minerals such as magnesium and sodium, which are great for the skin, especially for curbing inflammation.
Inflammation can make your skin dry, rough, red, itchy, and flaky, but topically treating it with sea salt can help relieve these symptoms considerably. (1) This is why sea salt scrub is often recommended for people with eczema, psoriasis, and dermatitis, who usually suffer from peeling skin.
Its mildly abrasive granules gently exfoliate sensitive skin without aggravating it, which is not the case with most other scrubs. You can add sea salt to your bathwater and soak in its goodness if scrubbing seems too harsh.
The magnesium in sea salt attracts and locks the moisture in your skin for prolonged hydration. Besides limiting trans-epidermal water loss, magnesium salts also strengthen the skin barrier by facilitating the growth and repair of skin cells. (2)
2. Plant oils
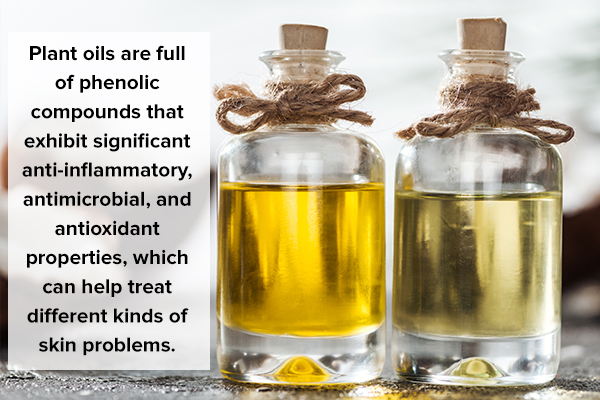
Plant oils are full of phenolic compounds that exhibit significant anti-inflammatory, antimicrobial, and antioxidant properties, which can help treat different kinds of skin problems. (3) These oils are used for relieving inflammatory skin conditions, fighting skin infections, and reducing or repairing the cellular damage caused by the sun’s UV rays. (3)
Plant oils also nourish and hydrate the skin to give it a healthy glow and soft feel. There are plenty of oils to choose from, such as coconut oil, (4) olive oil, (5) jojoba oil, rosehip oil, almond oil, or any oil with high vitamin E content.
3. Shea butter
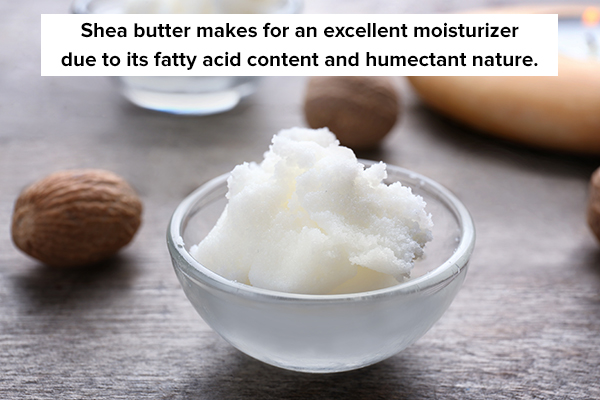
Shea butter makes for an excellent moisturizer due to its fatty acid content and humectant nature. The fatty acids are readily absorbed to provide deep hydration, and they bind the moisture in your skin to prolong the hydrating effect.
Shea butter is also loaded with vitamins A and E, which are powerful antioxidants that curb free radical activity that is responsible for a great deal of skin damage. These vitamins also promote skin healing by stimulating the growth of new cells.
Moreover, shea butter is credited with anti-inflammatory properties that can be traced back to its bioactive compounds, including tocopherols, triterpenes, phenols, and sterols. (3)
4. Optional ingredients
You can put a few other ingredients in your sea salt scrub for additional skin benefits. Here are some add-ins that users have tried and found useful:
- 3–4 drops of essential oil such as lemon, grapefruit, spearmint, lavender, or peppermint oil
- Zest of any citrus fruit
- Honey
- Coconut milk
- Aloe vera gel
- Oatmeal
DIY Sea Salt Scrub Recipe
Here are some simple ways to prepare a sea salt scrub at home:
Recipe 1
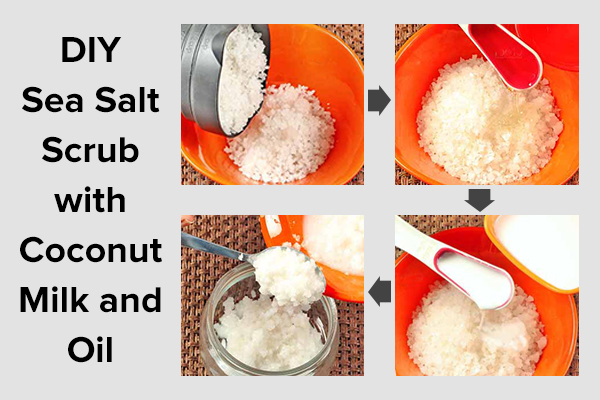
- Put 1 cup of sea salt in a bowl.
- Pour 1–1½ tablespoons of coconut oil or olive oil in the bowl.
- Add 4 tablespoons of coconut milk.
- Lightly mix all the ingredients so that they come together into a paste. Don’t mix too much or else the salt granules will dissolve and lose their scrubbing effect.
- Transfer the mixture into a container.
Recipe 2
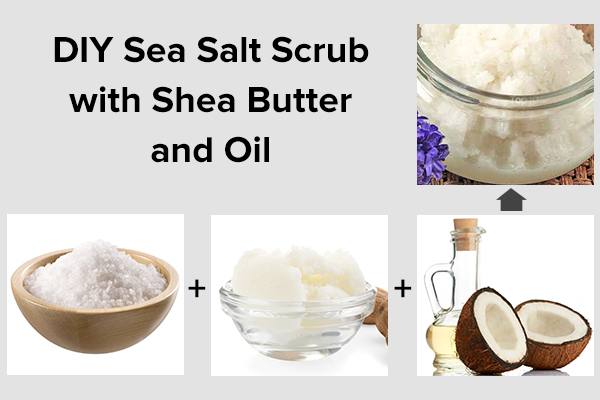
- Melt ½ cup of shea butter and let it cool down a bit.
- Take 1 cup of sea salt in a bowl.
- Add 1–2 tablespoons of coconut oil or olive oil.
- Mix in the shea butter.
- Pour the mixture into a container.
Note: If the sea salt is too coarse, you can grind it in a blender before adding it to the scrub.
How to Use the Sea Salt Scrub
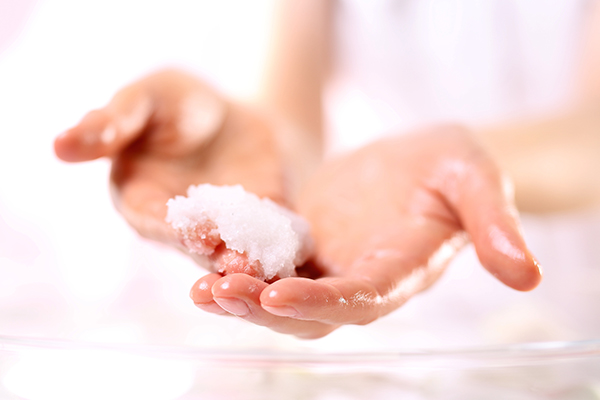
The most convenient time to use a body scrub is before a bath. Follow these steps for effective scrubbing:
- Shake the container well before using as the sea salt in the scrub may settle at the bottom of the container.
- Take out a generous amount of the scrub and slather it all over your body, particularly in the problem areas such as your elbows, neck, and knees.
- Gently rub it in your skin with light, circular motions. Vigorous or forceful scrubbing can be too abrasive and can irritate or even damage your skin.
- Let the mixture stay on your skin for a few minutes to allow the benefits of the ingredients to take their effect.
- Take a shower and rinse the scrub off.
- Pat your skin dry, and apply a good-quality moisturizer afterward.
- Do this once a week.
Disclaimer: You must always patch test any new topical remedy to eliminate the risk of adverse skin reactions. Use the sea salt scrub on a small area of your skin (underside of your arm) first to make sure you are not allergic to any of its ingredients. Don’t use the scrub on sensitive skin, open wounds, or recently shaven areas.
Final Word
Most scrubs clean and exfoliate the skin but leave it very dry and irritated afterward – but not sea salt scrub. This easy-to-make skin care gem provides deep cleansing and gentle exfoliation. It also hydrates, soothes, and heals the skin on account of its beneficial ingredients.
However, although this scrub is generally safe, it is best to consult your doctor before trying any topical remedy if you have a preexisting skin condition.
- Was this article helpful?
- YES, THANKS!NOT REALLY


