Cooking can be therapeutic, especially if you have a well-stocked kitchen. But sooner or later, the fresh supplies run out, and you’ll have to make a dash to the grocery store.
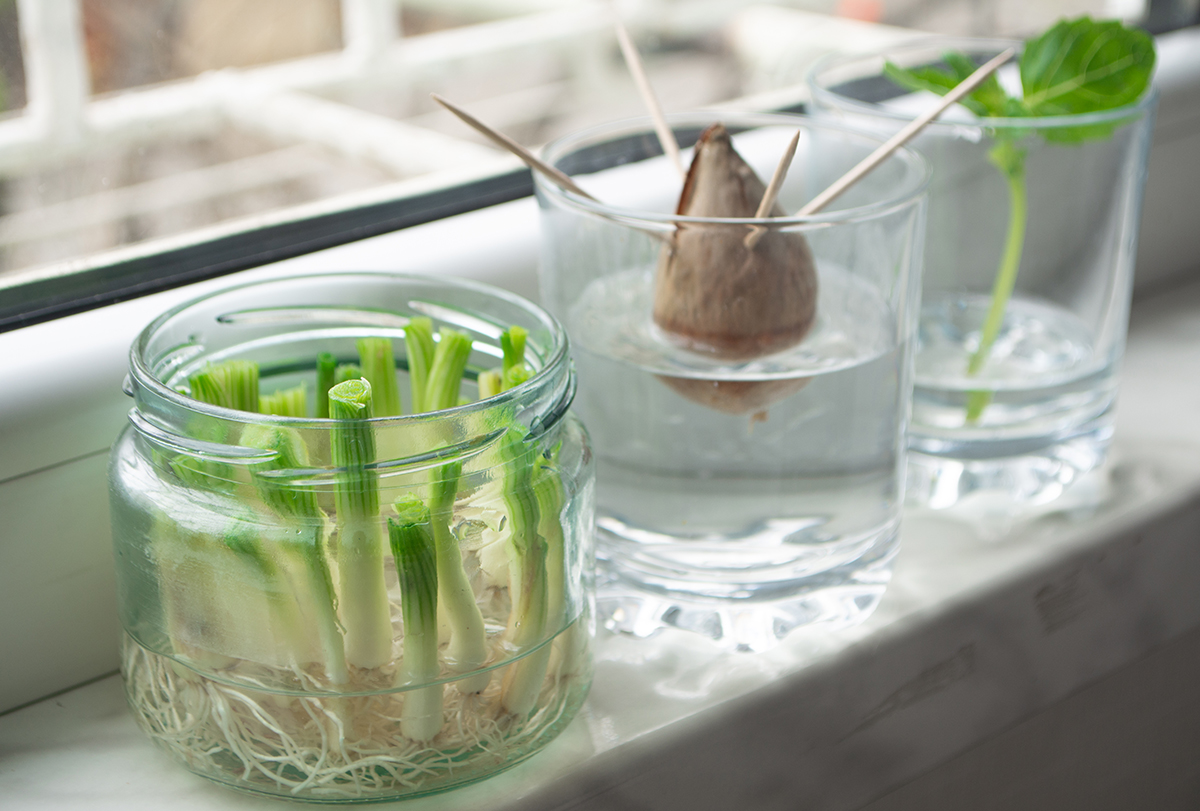
This constant back and forth between your home and the supermarket is not only inconvenient, but it also takes all the fun out of cooking and reduces it to a mundane chore.
The inevitability of finite cooking supplies is particularly highlighted in perishable items, such as vegetables and herbs, rather than staples and cereals which can be bought in bulk and stored.
Most vegetables and herbs come with an expiration date and turn dry or rancid in a matter of days, often before you can get the chance to use them.
When faced with this dilemma, many people consider turning to homegrown produce. But harvesting vegetables and herbs at home to maintain a steady supply can prove to be a tall order, especially when you are running low on space, money, time, and energy.
One way to take the load off and make kitchen gardening simple and hassle-free is to regrow vegetables from scraps or waste that usually end up in the trash. This is a sure shot way to avoid any food wastage and to control what chemicals are being put on and in the produce.
Growing Vegetables From Kitchen Scraps
Here are 10 vegetables you can regrow from kitchen scraps.
1. Carrots
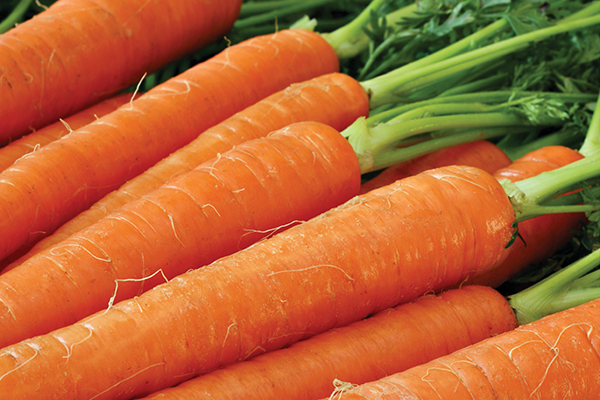
This orange-colored root vegetable is popular among kids as well as adults. Not just tasty, carrots are extremely healthy due to their robust nutritious profile.
You can grow crunchy, delicious carrots of different varieties in the spring and fall, either in small containers or in your kitchen garden to enjoy eating them right from your backyard.
You can also grow carrot greens from the tops that we usually chop off and throw away.
Carrot leaves are edible and make a healthy addition to soups, salads, and stir-fry vegetables. Plus, the leaves are as nutritious as the vegetable.
Growing carrot tops from carrots require no special equipment, and you will get results within a few days. The process is so fast and simple that even kids can do it, and this can be a good way to get them interested and involved.
- Cut off the top of a carrot, including about 1 inch of the carrot.
- Stick a toothpick into either side of the carrot top and balance it on top of a small glass.
- Fill the glass with water to the level where it barely touches the bottom edge of the stump. A water level that is too high can smother oxygen and causes the plant to rot instead of thriving. It is best to use water that has sat out overnight and has been exposed to oxygen in order to allow time for the fluoride in the water to dissipate.
- Replace the water daily.
- Put the glass near a window that allows sunlight to fall on it, but make sure it’s not extremely sunny outside.
- Add water as needed to ensure the bottom edge is always immersed in water.
- Within 2 to 3 days, the roots will start sprouting.
- Once roots have been established, the plant will thrive longer if transplanted to soil. However, this step is optional and depends on your ultimate goals.
2. Cilantro
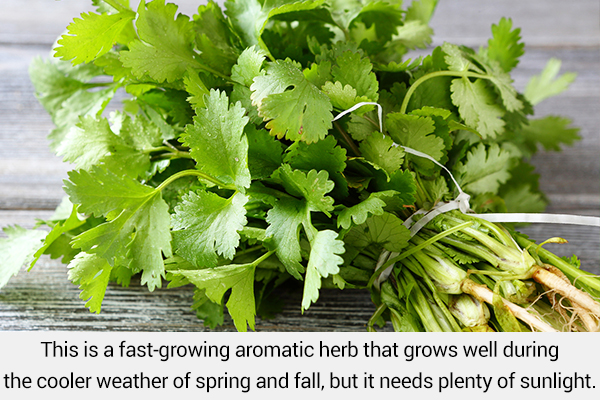
Cilantro is another herb known for its unique aroma and flavor. (1) The entire plant is edible. You can chop the stems and leaves and use them for garnishing your salads, soups, or any dish.
This is a fast-growing aromatic herb that grows well during the cooler weather of spring and fall, but it needs plenty of sunlight.
If the climatic conditions are fulfilled, little maintenance is needed to enjoy a good supply of this herb. If the weather outside is not suitable, you can regrow your cilantro in your kitchen.
- Cut off the roots of cilantro with about 1 inch of greenery still attached.
- Wash the roots gently in some water to remove the dirt and mud.
- Submerge the roots in a glass of water. A water level that is too high on the stems can smother oxygen and cause the plant to rot instead of thriving. It is best to use water that has sat out overnight and has been exposed to oxygen to allow time for the fluoride in the water to dissipate.
- Place the glass on your windowsill to get some sunlight.
- Replace the water daily.
- Within a few days, new leaves will start showing up. Harvest the leaves once the cilantro grows a few inches tall.
- Cilantro is a very hardy plant. If the root system is well established and sufficient nutrients are present, you can cut the plant completely down to the stem, and it will still regrow.
- If the leaves are not harvested in time, the plant may bolt and flower. Don’t despair! Flowering gives way to seeds that can be harvested and used as fresh coriander!
3. Sweet basil
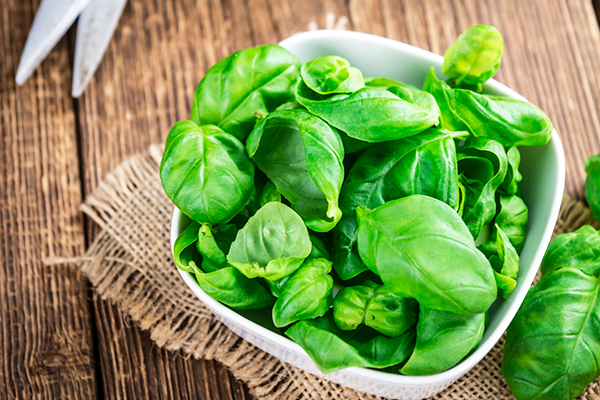
One popular herb that can make your pizza super tasty is sweet basil.
Indispensable to Italian cooking, this herb can also be used in salads, soups, sandwiches, dips, and baked products. The fresh aroma of sweet basil adds a distinct flavor to your cooking, and this is why people love to have a fresh supply in their kitchen.
You can sow basil from seed. It grows well when the days are warm and sunny, and there is no danger of frost. (2)
You can even propagate basil cuttings to ensure a supply of the herb going strong all season long. You can also create new starter plants and gift it to your family and friends.
- Using kitchen scissors, cut 3–4 inches of the herb from right below a leaf node.
- Remove any leaves from the lower part of the cuttings. Leave only the top one or two sets of leaves. Leaves require resources to thrive, so while the plant is focusing on growing roots, we don’t want it to have an overwhelming amount of leaves to support.
- Put three or four cuttings in a small glass container filled with water. A water level that is too high can smother oxygen and cause the plant to rot instead of thriving. It is best to use water that has sat out overnight and has been exposed to oxygen to allow time for the fluoride in the water to dissipate.
- Place the glass container on a windowsill where there is plenty of light but no direct sun.
- Add water as needed to ensure the stems are immersed thoroughly in water.
- Change the water every other day to keep it fresh.
- Within a week, new tiny white roots will start forming.
- After roots are established, basil will do best if then transplanted into a potting mixture.
- When using basil for culinary purposes, pluck the flower buds off as soon as they appear. Once the plant flowers, the taste of the herb changes. However, the flowering plant is beautiful and adds a fresh aroma and decor to the home.
4. Romaine lettuce
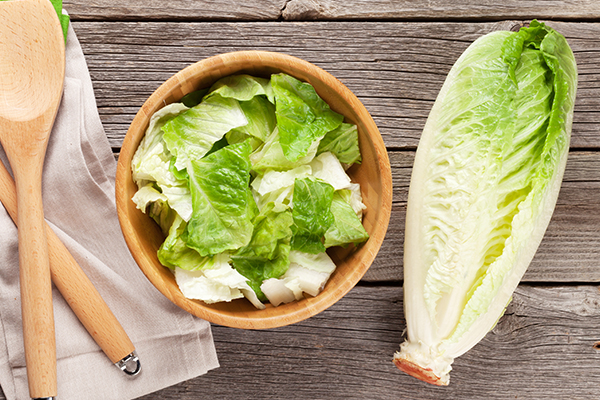
Romaine lettuce, a particular favorite for salad lovers, is celebrated for its crunchy and fresh green goodness. In many places, romaine lettuce is difficult to find, and even if available, it is quite expensive.
If you love to make salads with romaine lettuce, you can regrow it from the bottom of a head of lettuce.
So, the next time you have a full head of romaine lettuce, do not throw it in the garbage. No special equipment is needed, and the process is super easy.
- Cut the lettuce leaves about 1 inch from the bottom.
- Place the stem in a shallow dish containing filtered water. A water level that is too high can smother oxygen and cause the plant to rot instead of thriving. It is best to use water that has sat out overnight and has been exposed to oxygen to allow time for the fluoride in the water to dissipate.
- Put the dish on a windowsill or under grow lights.
- Change the water in the bowl every day.
- Within 3 to 4 days, new shoots will start growing from the top and roots will emerge from the bottom.
- After 15 days, your lettuce leaves will be ready to use in a sandwich or salad.
- After the new shoots have been grown and used, the plant will need to be transplanted into a potting mixture in order to have more nutrients if you desire to regrow shoots for the second time.
Note: Do not allow the lettuce leaves to grow too big, as they will turn bitter in taste.
5. Ginger
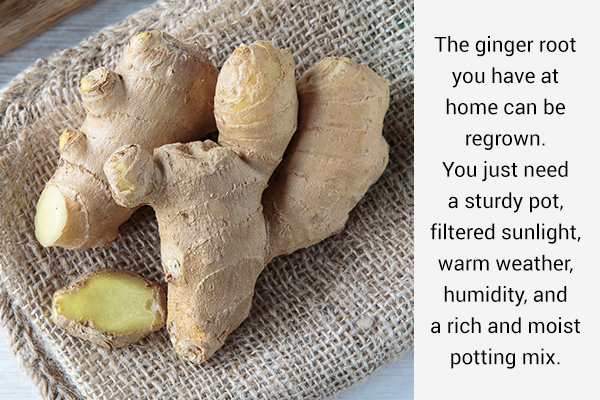
There is no end to the uses and benefits of ginger. One favorite brew among health-conscious people is a steaming cup of ginger tea. (3) Regular intake of this tasty yet healthy beverage warrants a steady supply of ginger.
Now, all your ginger needs can be easily taken care of at home without much effort. No need to shop for ginger seeds either.
The ginger root you have at home can be regrown. You just need a sturdy pot, filtered sunlight, warm weather, humidity, and a rich and moist potting mix.
- Start with ginger roots that are plump with tight skin and have some sprouts or eye buds already.
- Cut the ginger into several pieces, making sure each piece has an eye or node.
- Soak the ginger pieces in warm water overnight to remove any toxic chemicals.
- Fill a wide, shallow pot with rich soil.
- Put the ginger pieces in the soil with the eye buds pointing up.
- Cover the ginger pieces with 1 to 2 inches of soil.
- Water the soil lightly and put the pot in a warm but not too sunny place.
- Mist the soil often with water to maintain moisture, but do not water until a shoot has been established or the root may rot due to an anaerobic environment.
- Within a few weeks, some new sprouts will come out of the soil. Continue with regular watering and new ginger roots will be ready for harvesting within 3 to 4 months.
6. Scallions/green onions
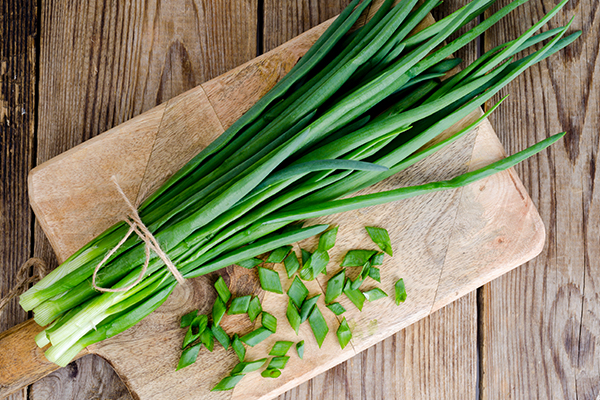
Scallions, or green onions, adds a lovely bite to dishes, salads, and soups on account of their crunch and super tasty flavor.
When using spring onions in cooking, most of us have the habit of using the stalks and tossing away the root bulb. By doing this, you are basically throwing away a perfectly good opportunity to regrow these versatile and popular vegetables.
Green onions are perhaps the easiest to regrow and require minimal effort and maintenance.
- Take the little end pieces of the scallions with the roots attached and wash them thoroughly in running water.
- Fill small plastic cups about halfway with filtered water. A water level that is too high can smother oxygen and cause the plant to rot instead of thriving. It is best to use water that has sat out overnight and has been exposed to oxygen to allow time for the fluoride in the water to dissipate.
- The bulbs can also be planted directly into a potting mix if desired.
- Put the cups in a nice sunny spot.
- If using the water-only method, change the water every few days.
- Within a few days, new leaves will start growing. Harvest with scissors as and when needed.
- If the scallion ends are too short to stand on their own in water, use toothpicks to help keep them upright.
7. Garlic sprouts
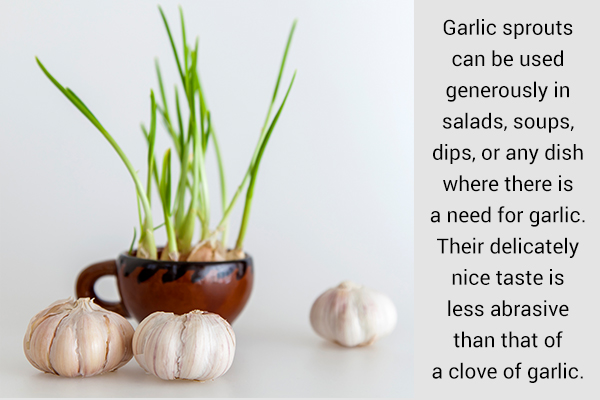
Just like garlic cloves, garlic sprouts also have a distinct taste and flavor. But very few people know that the sprouts are edible and hence they are usually discarded. (4)
Garlic sprouts can be used generously in salads, soups, dips, or any dish where there is a need for garlic. Their delicately nice taste is less abrasive than that of a clove of garlic. They also give off a nice aroma.
If you love eating garlic sprouts, do not throw away the sprouted garlic cloves root as a kitchen scrap. Instead, use them to grow several handfuls of garlic sprouts.
- Place the sprouted garlic cloves in a glass of filtered water. It is best to use water that has sat out overnight and has been exposed to oxygen to allow time for the fluoride in the water to dissipate.
- Put enough water in the glass so that the very bottom portion of the garlic sprouts is submerged.
- Put the glass on the windowsill such that it gets enough sun and light.
- Change the water daily and wait for the shoots to grow taller.
- Once the shoots become 2 to 3 inches tall, cut them with scissors to use them when needed.
- Garlic sprouts can also be grown in the moist potting mix using the same method.
8. Lemongrass
As great a herb lemongrass is, most people remain bereft of its flavorsome and nutritional virtues because it is very hard to find fresh at regular grocery stores.
Despite being so exclusive, the fresh, clean, and zesty smell of lemongrass has earned its considerable popularity among food aficionados and culinary pundits who swear by its use in their preparations.
Plus, health-conscious people are switching to lemongrass tea as a way to promote a healthy mind and body. (5)
If you love lemongrass, you can buy it once and regrow it to ensure a good supply of this herb in your kitchen.
- Cut 1 inch of the lemongrass stalks and wash them thoroughly.
- Place the stalks right side up in a small container filled with filtered water. A water level that is too high can smother oxygen and cause the plant to rot instead of thriving. It is best to use water that has sat out overnight and has been exposed to oxygen to allow time for the fluoride in the water to dissipate.
- Put the container in a sunny spot and change the water daily.
- The roots will appear in a couple of weeks. Then, plant the lemongrass stalks in a pot with rich, fertile soil.
- Ensure that the water is enough to keep the soil moist, and then put the pot in a sunny place.
- Soon, you will have a good supply of lemongrass.
9. Celery
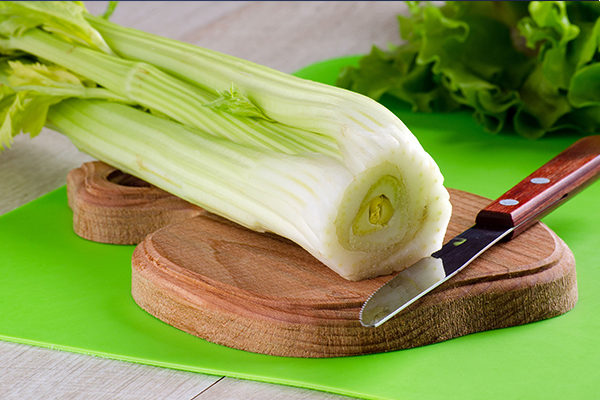
As celery is a highly nutritious and valuable addition to soups, stews, salads, dips, and sandwich spreads, many people love having this water-rich vegetable in their kitchen.
However, celery is a cool-weather crop and difficult to cultivate in warm climates. (6) This is why it is expensive in many places.
Good thing, then, that celery can be regrown again and again with comfortable ease. The leaves of regrown celery stalks give the same flavor as that of celery, minus the crunch of the stalks.
- Save the root end of the celery plant after using all the stalks for cooking.
- Fill a small jar with water. It is best to use water that has sat out overnight and has been exposed to oxygen to allow time for the fluoride in the water to dissipate. Place the celery root end in it overnight.
- The next morning, fill a pot with potting soil, leaving 1 inch from the top open.
- Remove the celery root from the jar and blot up the excess water with a paper towel.
- Place the celery end in the pot and push it down very gently into the soil with your hands.
- Water the soil until it’s damp.
- Place the pot on a sunny windowsill or any place where it will get at least 6 hours of sunlight a day.
- Water regularly, but do not keep the soil waterlogged as that will cause the stem to rot.
- Soon, new tender, young celery will start appearing in the center of the root.
- You can also forgo potting the celery altogether and keep it in a cup of water. Just be sure that the water level is not too high on the stem and that the water is changed daily.
Note: The new stalks may be smaller and not as deep green in color as the original one because the new shoots are drawing on the nutrients left over in the bottom of the stems or the heart of the celery.
10. Bok choy
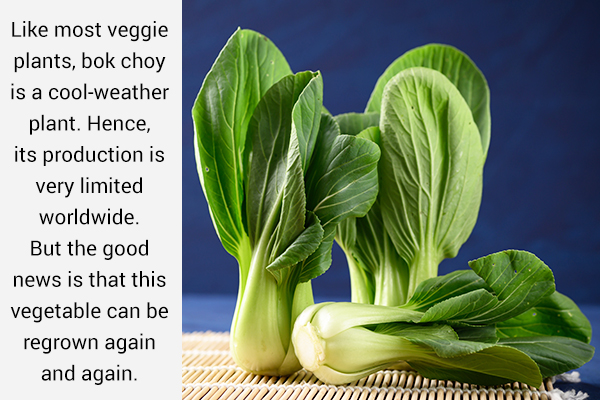
Bok choy, the bright-green member of the cabbage family, adds flavor, nutritional power, (7) and a nice crunch to many recipes.
Like most veggie plants, bok choy is a cool-weather plant. Hence, its production is very limited worldwide. But the good news is that this vegetable can be regrown again and again.
Instead of throwing away the base of your bok choy, the ends can be easily regrown into new baby bok choy.
Whether you’re an experienced or a novice gardener, regrowing bok choy is an easy, fun, and rewarding experience.
- Cut your bok choy about 2 inches from the bottom up.
- Fill a shallow container with about 1 inch of water. It is best to use water that has sat out overnight and has been exposed to oxygen to allow time for the fluoride in the water to dissipate.
- Place the bok choy in the water. Make sure the water level is not too high because this may cause rot.
- Put the container in a place that will give it sunlight.
- Change the water at least every other day to maintain water freshness. You can also spray the middle of the bok choy with a little water.
- Within a week, roots will start sprouting.
- Once the roots are at least 1 inch in size, you can plant it in a pot containing a rich and fertile potting mix.
- Water the soil lightly every day.
- Within 2 weeks, your baby bok choy will be ready to eat.
- You may choose not to pot the plant and to keep it in the water instead. However, this leaves the plant dependent on the nutrients left in the heart of the bok choy, and new shoots will be smaller, slower growing, and lighter in color than the soil-planted ones.
Final Word
You don’t need to have a green thumb to master this simplistic gardening approach. All that is needed is a willingness to try and a passion for wholesome and healthy eating.
If that isn’t motivation enough, anyone with even the slightest culinary leanings would agree that a fresh and homegrown batch of vegetables and herbs can elevate your staple dish to the revered status of a gourmet meal.
So, get digging.
- Was this article helpful?
- YES, THANKS!NOT REALLY


